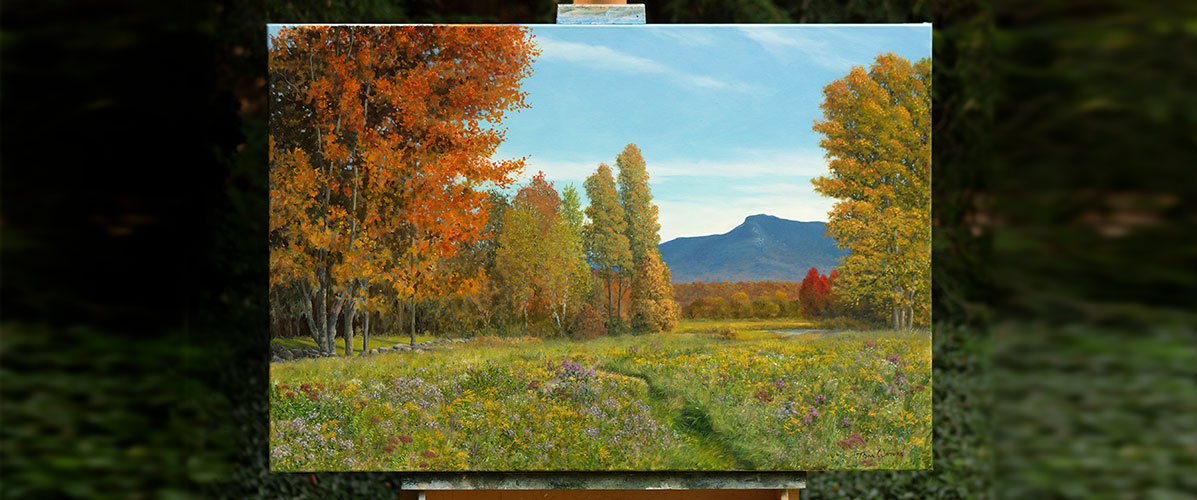

Here is a breakdown of how I approached my latest painting. The painting itself was a request, and for guidance I had an idea of the color palette and that it should be calming. I also knew it should be fairly large, and in landscape orientation. So I first drew a number of sketches, to get a general idea of the composition. Then it was time to paint. I chose a 15″ x 30″ canvas and paint the edges (1 1/4 inch deep)
Step 1: Blocking in the background.
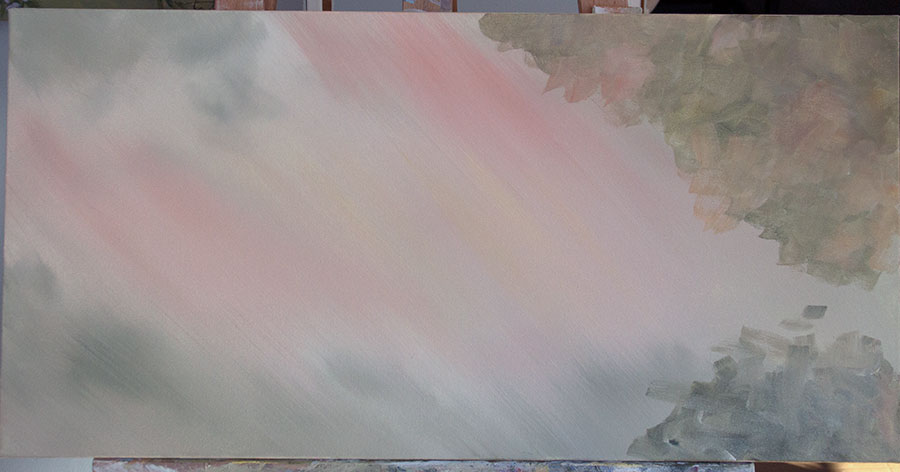
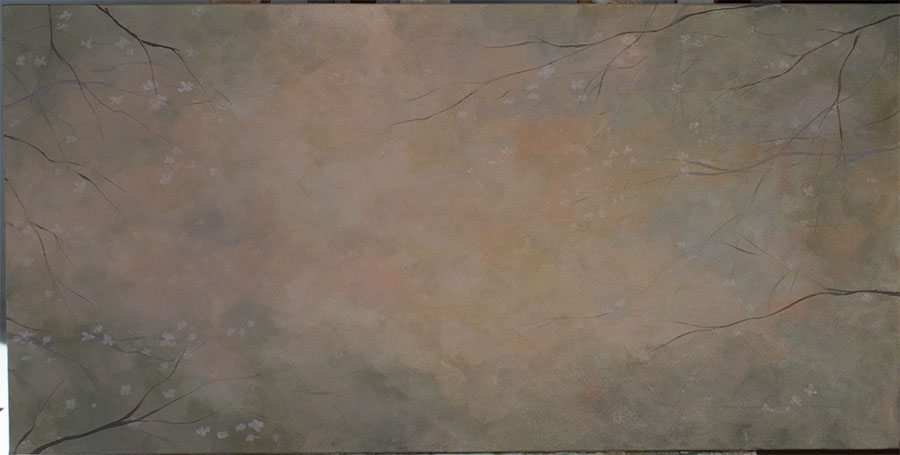
For the background the initial step was just to get color on the canvas. You can see in the photo below that first I blocked in a lot of color in the general color family I wanted for the final result, but without worrying at all how it looked. The photo below shows the end of that block in and the start of step 2.
Step 2: Working the background for atmospheric effect.
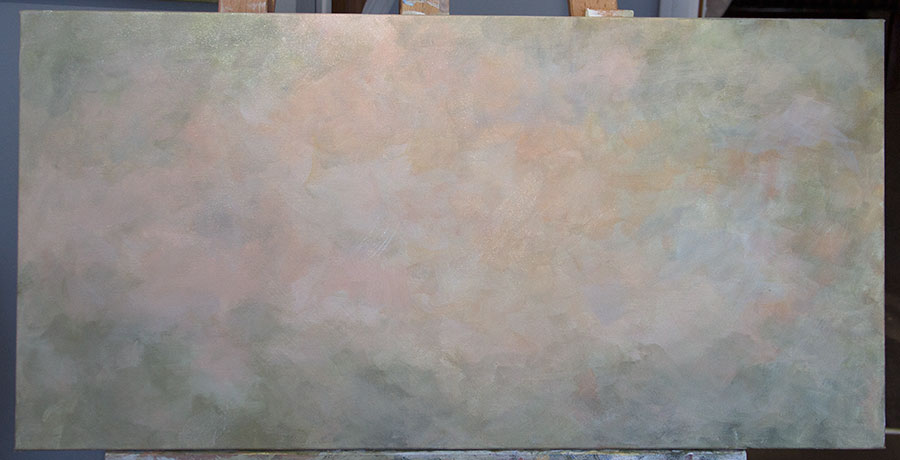
For this step I worked with the same color palette I used for the blocking in of the background, but now started applying final color in blotches using a 1″semi-soft synthetic brush that let me blend the splotches as I went. As I worked I would adjust the colors, lighten some areas, and go back over areas to soften or adjust the colors and values. I kept my sketch handy to inform me where I would be putting elements on the canvas so that the background would compliment the focal points. I keep the corners darker and light in the center to draw attention to the middle of the painting and keep attention from leaving at the edges.
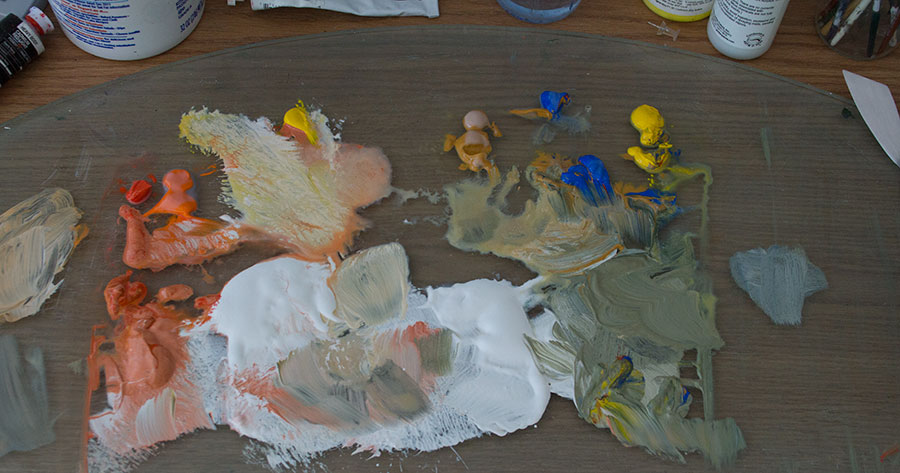
My color palette for the background is below, and I used Titanium white gesso for the white since it is easier to use on backgrounds and for blending. Other colors are Cad Yellow Light and Cobalt Blue for mixing the greens, Cad Red Light, and Cad Orange which I did not use much as the Cad Red and Cad Yellow worked better, along with Yellow Ochre to tone down the greens and the salmon color and give it a more earthy feel.
Step 3: Finalize Background
A third time over the background with scumbling in color and blending gives it a softer feel. Here I added a few spots of cobalt blue to suggest the sky and to tie in with the blue that will ultimately make its way in on the bluebirds. The serves as my primary color palette, although I add Raw Umber and Burnt Sienna later for branch work.
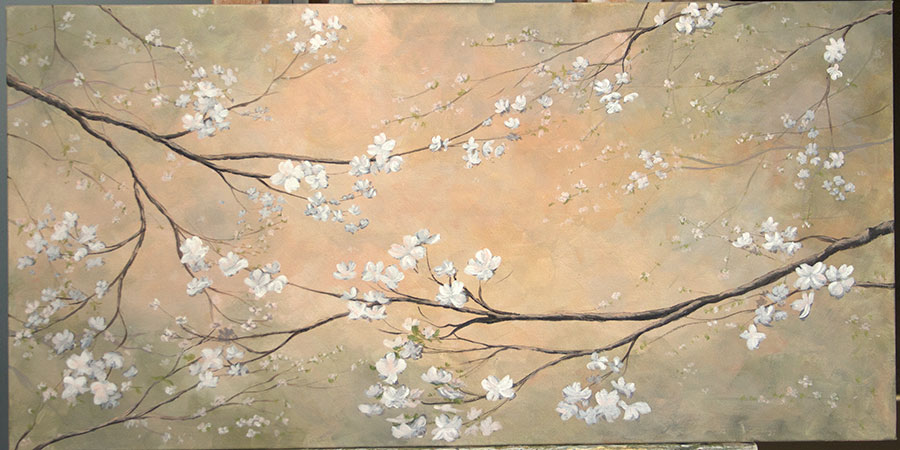
Step 4: Adding background branches and flowers
To create depth, I then add soft branches and suggestions of flowers to the background. These will set in the background but will give the painting a feeling of depth and perspective. I don’t worry about detail and some marks are just suggestions. The edges are kept soft.
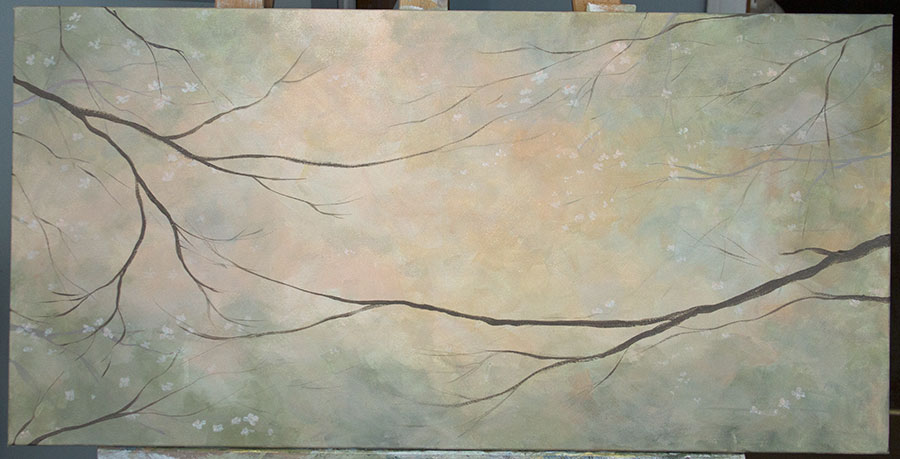
Step 5: Moving forward and adding branches
Next step is adding more branches to the foreground and starting to flesh out the overall structure. More branches get added when the flowers start getting added, but this sets up the overall composition.
Step 6: Start adding flowers.
I started adding some of the flower clusters in the foreground, and then after a while was not happy. I remembered that I like to start white flowers with a mid-scale grey color first, and work progressively lighter. Here is that initial attempt.
Step 7: (Or step 6 revisited) Do the flowers right!
By starting the flowers with a mid-value grey (bluish tone) I have a shadow color I can then build on. Its much easier than adding shadows to white flowers after they are painted. I still have to go back and adjust and add color and shadows along the way, but by starting dark and building up I have more to work with. The build up from dark to light is done in several steps.
Step 8: Layering color and value to the flowers
Now I can build progressively lighter with my flowers. The dark undertone lets me use more values of grey, grey-pink, and white to get the flowers with more depth. The color is a mix of Cad Red Light with a little blue and yellow to tone it down, added to titanium white.
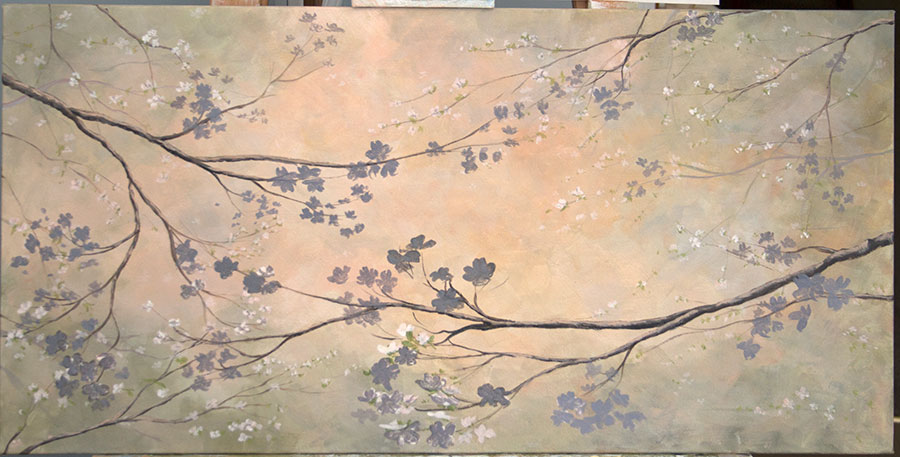
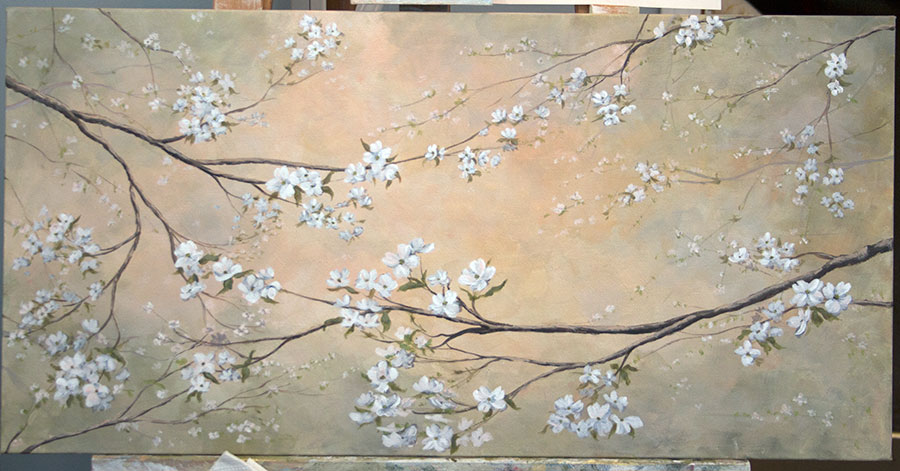
Step 9: Adding flower details and some leaves.
Next I add the dogwood bloom centers using first a dark green (Cobalt Blue, Cad Yellow, and a touch of Cad Red) then a lighter green (more yellow and blue). I also start adding the leaves around and behind the flowers. Again mixing a green with Cobalt Blue and Cad Yellow Light, along with Paynes Grey which mixes nice greens. Cad Red Light is added to create variation and tone down the green, along with white for leaf highlights in a lighter green. I didn’t want the green to really stand out so I try to neutralize it quite a bit and just get the values I want.
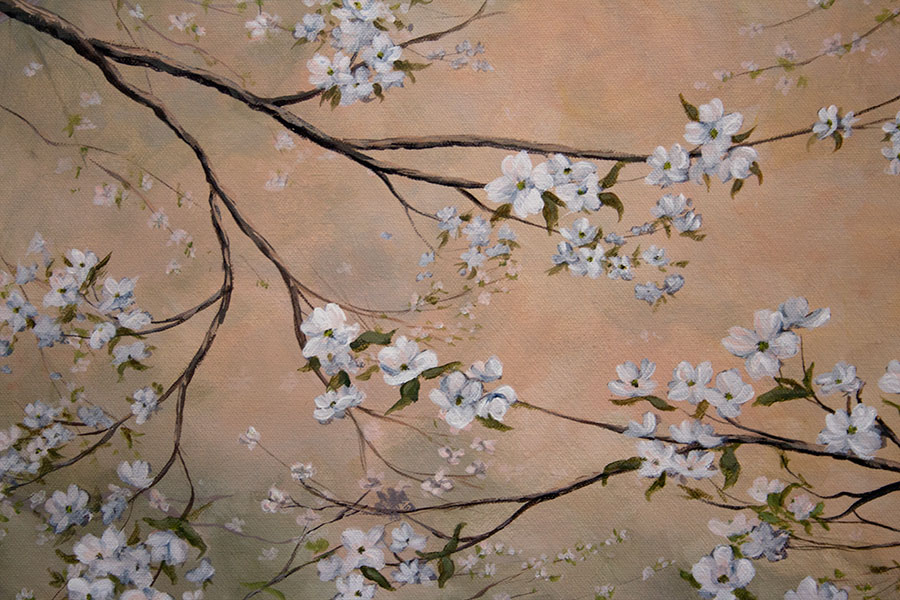
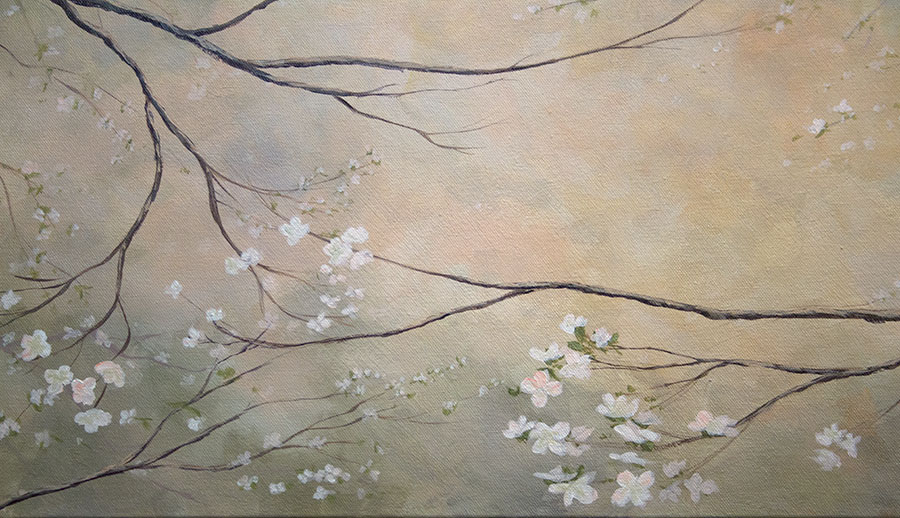
Step 10: Adding highlights to flowers
I then go back and add color and white highlights to flowers, and shadows where necessary. Along the way I found that the more of this I did the looser I got with my brush strokes and overall the flowers started having more spontaneity.
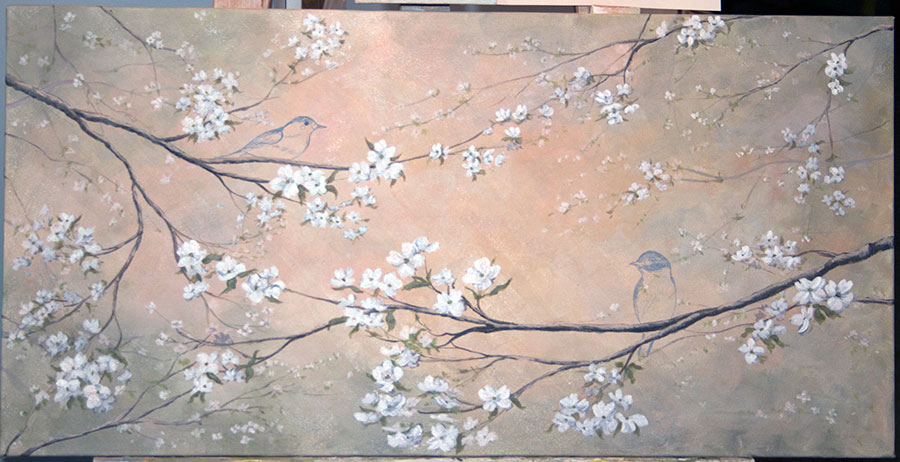
Step 11: Place bluebirds and start block-in
Never having done bluebirds before I was a bit nervous. Getting the size and placement is important. So I start by outlining where they will go. I keep a soft wet synthetic brush handy to quickly erase any errant marks or make adjustments where necessary. For the initial block-in I used a bluish grey color which is found in the final birds, and also a dull reddish color on the breasts. This then gets layered over in the final step.
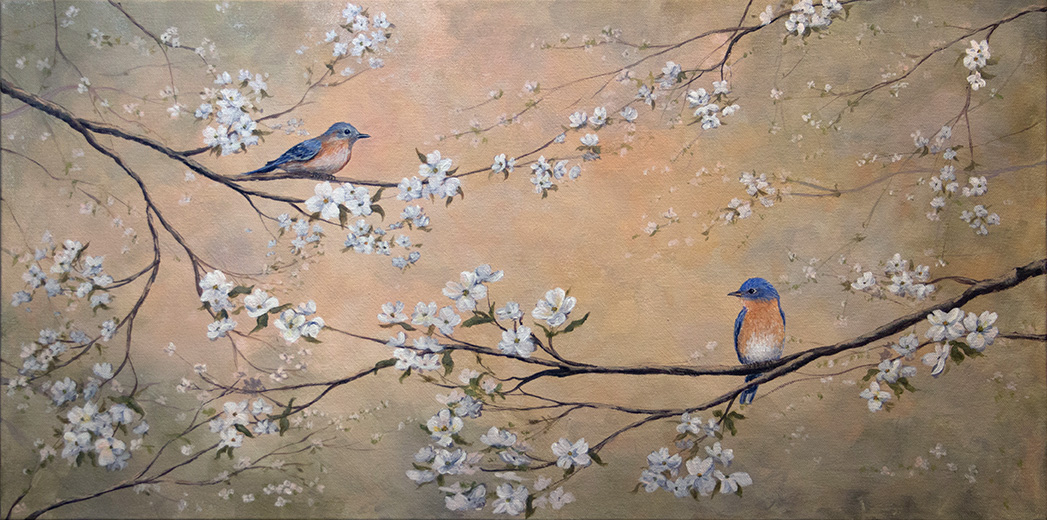
Step 12: Final Bird Detail
And finally, the painting of the bluebirds. I work one bird at a time. And establish the darks (shadows and eye) and lights (white breast feather areas) first and then in layers work in the colors. There are a few layers to get depth in the feathers and to add shadows and values to establish form. A few final details like bright feathers, and white eye dots and its done!
I hope you enjoyed this. Post comments below. And if you subscribe to the blog (see signup on the right) you will get notified any time I post something new. Cheers!